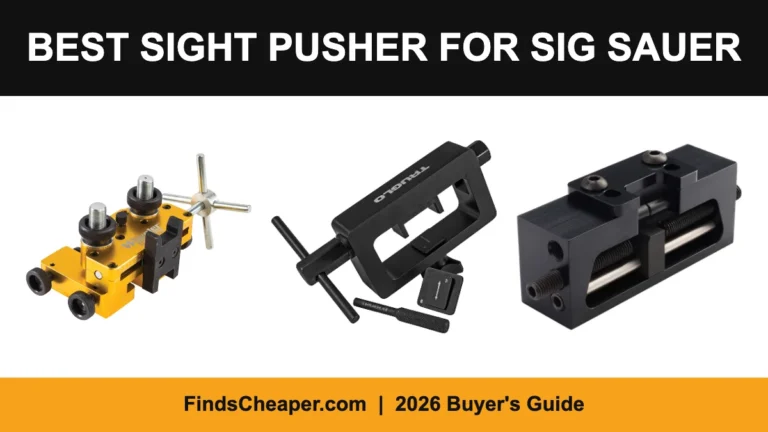
How to Use a Sight Pusher: 7 Steps to Change Pistol Sights Without Scratching the Slide
A sight pusher turns a sight change from a hammer-and-prayer job into a controlled, repeatable one. But the tool only protects your slide if you set it up right. Almost every scratched slide, crushed night sight and stripped push screw we have read about in owner reviews traces back to one of five mistakes, and all five are avoidable. Here is the full procedure, the order that matters, and what to do when the sight will not move.
What you need
- A sight pusher with the correct shoe for your sight (angled for Glock-style, flat for Sig, M&P, XD and most others). Our picks are in best sight pusher tools.
- Painter’s tape
- Brake cleaner or degreaser and a patch
- Allen keys or a small screwdriver for any sight set screw
- A fine marker or a scribe for a witness mark
- Optional: a hair dryer and penetrating oil for stuck sights, blue thread locker for set screws
How to use a sight pusher, step by step
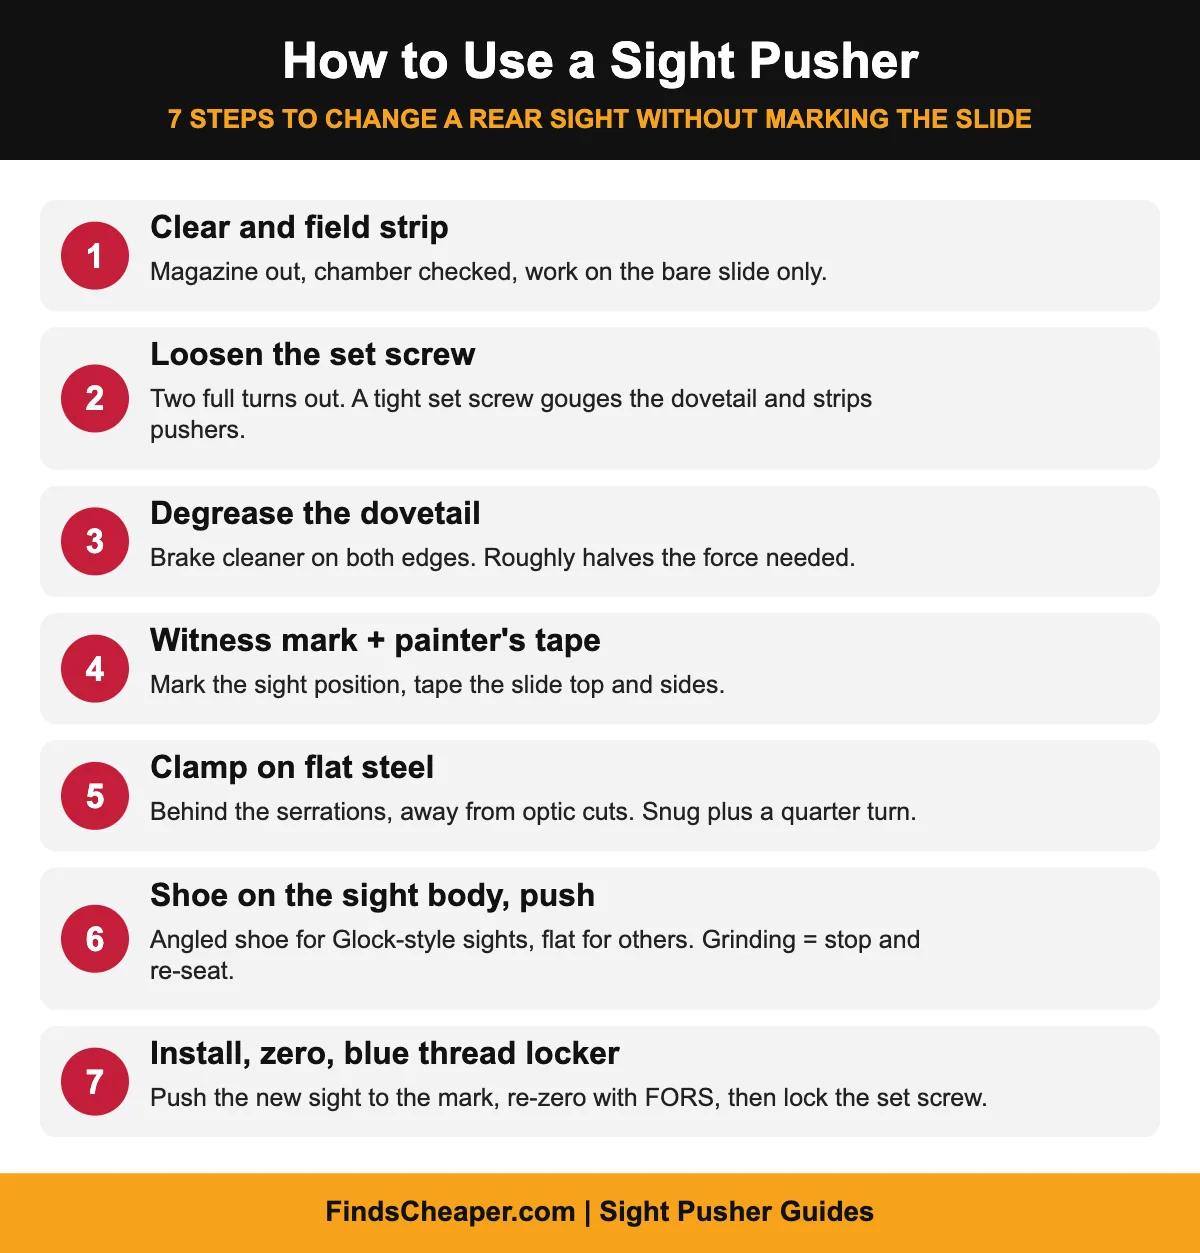
Step 1: Clear the pistol and field strip it
Remove the magazine, lock the slide back, check the chamber visually and physically. Field strip and work with the bare slide. Never clamp an assembled pistol.
Step 2: Loosen any set screw
Many rear sights, including Novak-style, Trijicon, Ameriglo and most aftermarket sights, have a small set screw on top or underneath that bears on the dovetail. Pushing against a tightened set screw gouges the dovetail and strips the pusher. Back it out two full turns before anything else. Glock OEM polymer sights do not have one.
Step 3: Degrease the dovetail
Factory grease and carbon act like glue in the dovetail. A patch with brake cleaner along both edges of the sight, 30 seconds, and the sight moves at roughly half the force. This single step saves more push-screw threads than any other.
Step 4: Make a witness mark and tape the slide
Put a small mark where the current sight sits so you can return to the same windage if you reinstall it, or get the new sight close. Then lay two layers of painter’s tape across the slide top and down both sides where the clamp jaws and the shoe will touch. Tape costs nothing and prevents nearly all finish marks.
Step 5: Clamp the slide
Set the slide in the pusher with the sight centered under the push screw. Clamp behind the front serrations, not on them, and away from any optic cut. Tighten snug by hand, then a quarter turn. Too loose and the slide walks under load; too tight on an aluminum-frame tool and the frame flexes, pushing the sight in at an angle. If your tool has an adjustable base, set the height so the shoe meets the sight body squarely.
Step 6: Seat the shoe on the sight body and push
The shoe must sit on the sight’s base, the thick part in the dovetail, never on the blade or the tritium housing. Angled sight, angled shoe; flat sight, flat shoe. Turn the push screw with steady pressure. Correct resistance feels firm and smooth. Grinding or sudden hard resistance means the shoe has ridden onto the slide or a set screw is still tight. Stop, back off, re-seat, continue. Most pistols remove left to right as viewed from the rear and install right to left, but some 1911s and CZs are the reverse; look for a taper or a factory witness mark.
Step 7: Install the new sight and re-zero
Start the new sight by hand in the dovetail from the install side, then push it to your witness mark. Snug the set screw with a drop of blue thread locker if the sight has one. Expect to re-zero: dovetails are rarely centered identically on two sights. Shoot a group, then use the FORS rule (Front Opposite, Rear Same): shooting left, move the rear sight right. A quarter turn of most push screws moves the sight roughly a sixteenth of an inch. Our guide on which way to move the rear sight has the per-distance math.
Watch: “Proper use of a sight pusher to change out iron sights” by Rolling with the Morgans on YouTube.
What about the front sight?
Glock, M&P and most Sig front sights are held by a screw or hex nut from under the slide and are removed with a 3/16-inch nut driver, not a pusher. Only dovetailed front sights (1911, CZ, some HK) use the pusher, and then the tool needs a front adapter because the sight sits near the muzzle. Pushing a staked or screw-in front sight with a pusher damages the slide.

When the sight will not move
Stop turning before you strip the screw. Confirm the set screw is loose. Warm the slide with a hair dryer for a minute, put penetrating oil on both dovetail edges, wait twenty minutes, and push again. If it still will not move, break the bond with two or three light taps from a brass punch on the sight base while the slide sits on a bench block, then return it to the pusher. M&P 2.0 and some Sig sights are pressed in very tight from the factory; this is where a steel push block earns its money and an aluminum budget tool strips.

Watch: “Front/Rear Handgun Sight Pusher Tool: helpful tips to make it easy” by PewpewswithMr.X on YouTube.
The five mistakes that cause almost every problem
- Pushing on the blade instead of the sight body. Crushes night sights, bends blades.
- Clamping on the serrations or the optic cut. The slide rocks and the sight goes in crooked.
- Not loosening the set screw. Gouged dovetail, stripped pusher.
- Skipping degreasing. Double the force needed, stripped threads.
- Flat shoe on an angled sight. Slips, marks the slide, crushes the sight.
If a mark does happen, our guide on what to do when a sight pusher scratches your slide covers cold blue touch-up and when it is just the tape residue.
The tool we use for this guide
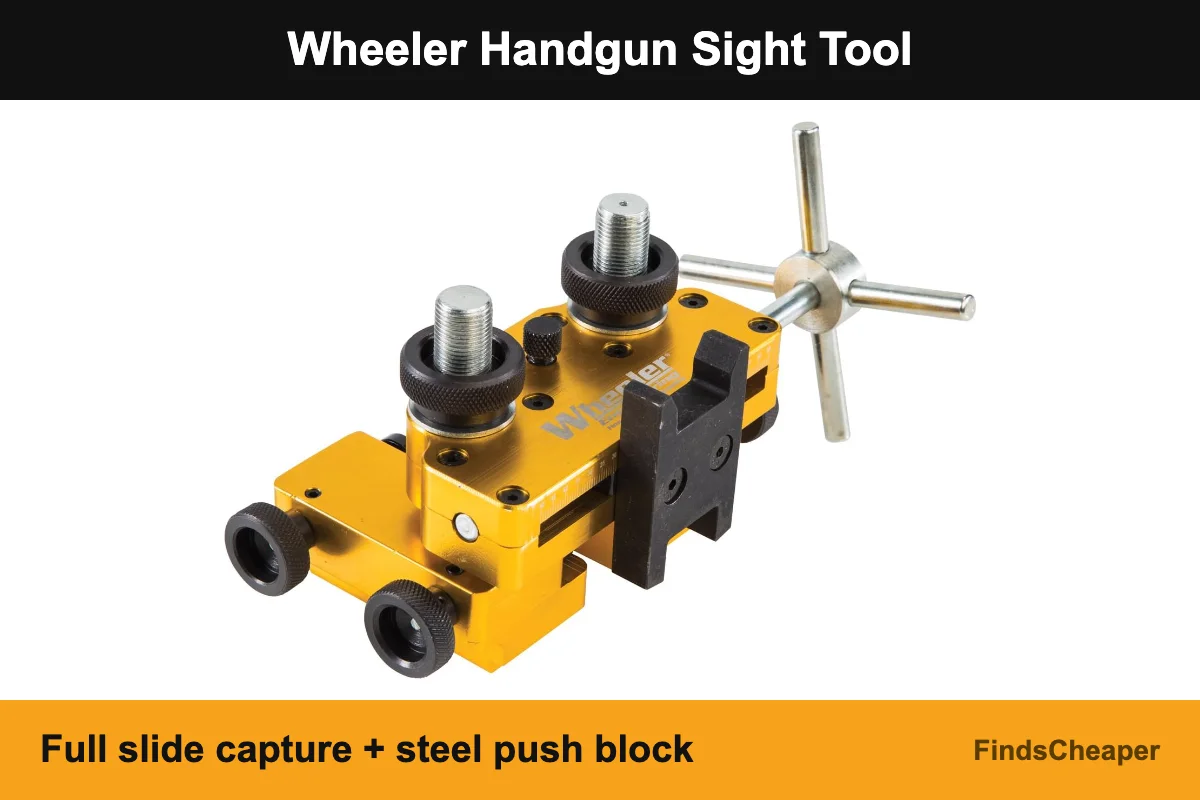
The Wheeler Handgun Sight Tool captures the whole slide, ships with both angled and flat shoes and has a steel push block, which is why it is our pick for most people. If you are Glock-only, the Pridefend Glock pusher is simpler. Both are compared in our sight pusher roundup.

FAQ
How tight should the sight pusher clamp be?
Snug by hand, then a quarter turn. Test by trying to shift the slide; it should not move. Over-tightening an aluminum frame flexes it and pushes the sight in at an angle.
Which direction do you push a rear sight out?
On most modern pistols, left to right as viewed from the rear, and install right to left. Some 1911 and CZ dovetails are tapered the other way; check for a factory witness mark.
Do I need thread locker on pistol sights?
Only on the set screw, and only blue (medium strength). Never red, and never in the dovetail itself.
Can I use a sight pusher on Glock plastic sights?
Yes, but factory polymer sights crack under a pusher roughly half the time. If you are replacing them it does not matter; if you want to keep them, use the angled shoe and go slowly.
We may earn a commission from qualifying purchases made through links on this page, at no extra cost to you.