Drawing From Concealment: Practice Drills That Build a Safe Draw
Drawing from concealment is a skill that has to be built in dry practice first, slowly, with an unloaded gun and no ammunition in the room, before it is ever done with live rounds on a range that allows it. The draw itself is four steps: establish a full grip on the gun while it is still in the holster, clear it straight up, rotate the muzzle toward the threat as the support hand joins, and extend to the sights. Garment clearing happens before step one and is different for an open-front and a closed-front shirt. Re-holstering is slow, deliberate and never part of the timed drill.
This page gives you the setup, the steps and a progression. It assumes you already have a holster that passes the four tests in our pillar on how to choose a concealed carry holster, because no amount of practice fixes a holster that collapses or releases the gun. The rest of the series is in the holster guide.
Safe dry-fire setup
Every dry-fire negligent discharge we have heard about had the same cause: live ammunition where it should not have been. The setup below is not optional.
- Unload the gun. Remove the magazine, lock the slide back, look into the chamber and feel it with a finger. Do it twice. Say out loud that the gun is clear.
- Remove all ammunition from the room. Not into a drawer in the same room. Out of the room, door closed. Loaded magazines too.
- Choose a target wall. Pick a wall that would stop a bullet, such as an exterior brick wall or a basement wall, or put a target on a stack of books or a sandbag. Never aim toward a room where someone could be.
- Put up a small target. A sticky note at chest height is enough. You want something to aim at so you build the habit of extending to a sight picture.
- Set a time and stop when it ends. Ten to fifteen minutes. When it ends, put the gun away. The dangerous rep is the one more rep after you have loaded the gun again. If you reload to carry, say out loud that the gun is loaded and do not touch the trigger again.
- No distractions. No phone calls, no television, no one else in the room. If you are interrupted, start the safety check over from step one.
We teach these habits in the firearm safety portion of every class, and they are the same ones that govern how we run a range. Our holster safety rules cover what the holster itself must do to make this practice safe.
The four-step draw
Step 1: Grip
The strong hand goes to the gun and establishes a full firing grip while the gun is still in the holster: web of the hand high under the beavertail, fingers wrapped around the front strap, trigger finger straight along the outside of the holster. This is the most important step. A bad grip here stays bad through the whole string of fire. At the same time, the support hand goes to the center of the chest, out of the way of the muzzle.
Step 2: Clear
Lift the gun straight up out of the holster until the muzzle clears the top. Straight up, not forward or out, or the muzzle will catch the holster mouth. Trigger finger stays straight along the frame.
Step 3: Rotate and join
As soon as the muzzle clears, rotate it toward the target by dropping the elbow, so the gun points downrange from a position against your ribs. The support hand comes across from the chest and meets the gun in front of the sternum, building the two-handed grip. The gun is now pointed at the threat and could fire from here if the threat were close.
Step 4: Extend
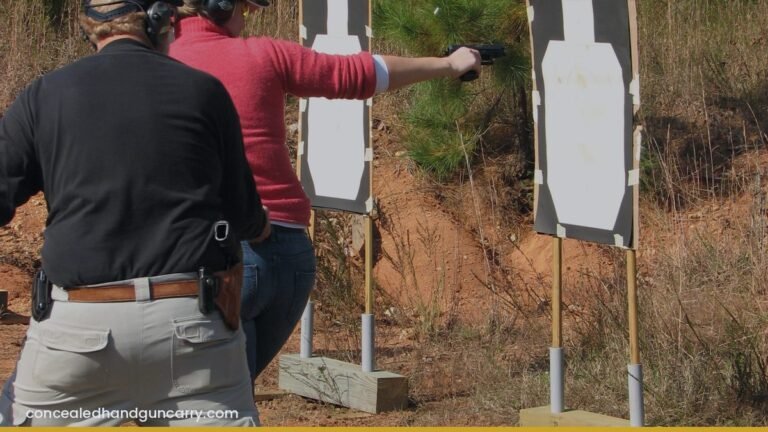
Push the gun straight out toward the target, bringing the sights up into your line of vision. The trigger finger moves to the trigger only when the sights are on the target and you have decided to shoot. In dry practice, press the trigger once with the sights on the sticky note, hold, and watch for any movement in the sights.
Do all four steps at a speed where you can do each one perfectly. Slow is not a warm-up; slow is where the skill is built. Speed comes later and comes on its own.
Clearing the garment
Concealment adds a step before the grip, and it is where most concealed-carry draws fail. The method depends on the garment.
Open-front garment (unbuttoned shirt, jacket, vest)
The strong hand sweeps the garment back. Hook the fingers behind the edge of the garment at belt level and sweep it back and past the holster in one motion, letting the hand continue to the grip. Some people put a weight in the garment’s pocket so it swings and stays back. The support hand goes to the chest as usual.
Closed-front garment (t-shirt, pullover, sweater)
The support hand does the clearing. Grab a fistful of shirt at the center of the belly, pull it up high and hard toward the chest, past the top of the gun, and hold it there. The strong hand then goes under the lifted shirt to the grip. Pull higher than you think you need to; shirts drop. Once the gun clears the holster, the support hand releases the shirt and joins the gun as in step three.
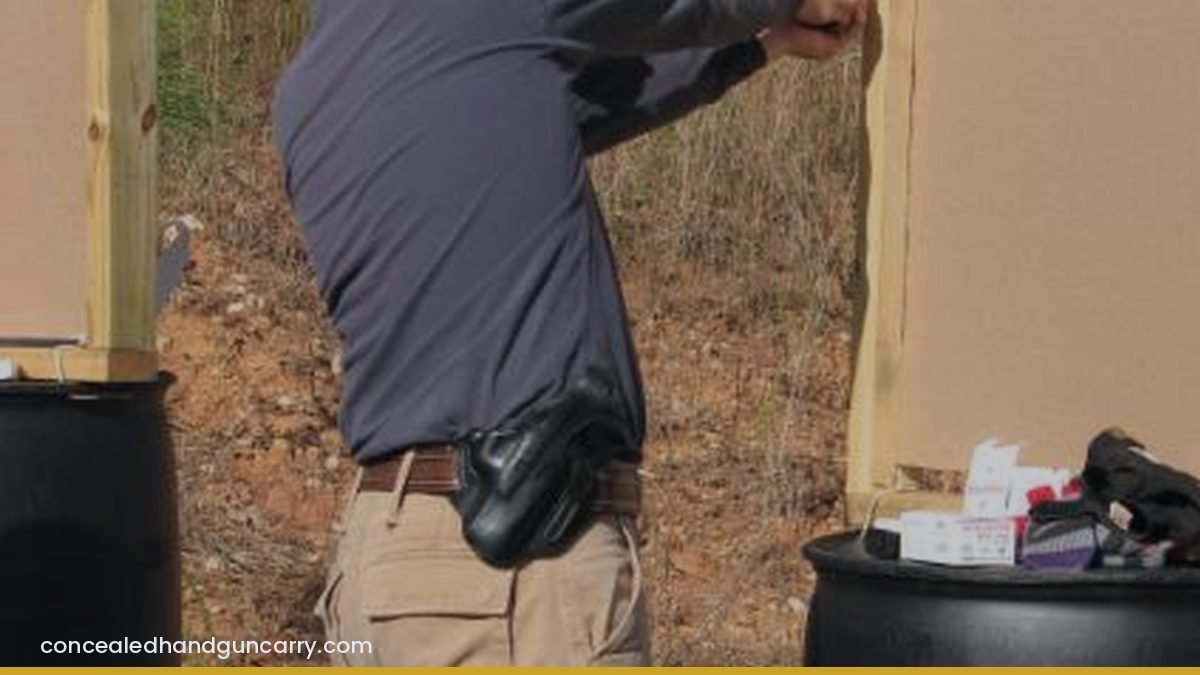
With an appendix holster, either hand can lift the shirt, but the strong hand lifting and then dropping to the gun is faster for most people. Our appendix carry guide covers the specific re-holstering rules for that position. Where the holster sits on the clock also changes the sweep; see the clock guide to carry positions.
Practice in the actual clothes you carry in. A polo shirt behaves differently from a hoodie, and a shirt tucked over a tuckable holster is a different draw entirely.
Re-holster slowly
The draw can be fast. The re-holster is never fast. There is no competition for who can holster first, and the re-holster is when most holster-related injuries happen.
- Take the finger off the trigger and lay it straight along the slide before the gun moves toward the holster.
- Look at the holster. Confirm the garment is out of the mouth. A drawstring, a shirt tail or a jacket toggle in the holster is how triggers get pressed.
- Guide the muzzle into the mouth and press down steadily. If you feel resistance, stop, pull back out and look. Never force it.
- With an appendix holster, lean back slightly from the hips so the muzzle angles forward rather than straight down at your thigh.
- If you carry a pistol with a manual thumb safety, engage it before re-holstering; if your pistol has an external hammer, some shooters rest a thumb on it during the re-holster so it cannot move.
If your holster collapses when the gun is out and you have to use the support hand to open it, you need a different holster, not a different technique.
Progression and reps
| Stage | What you do | Move on when |
|---|---|---|
| 1. Steps in isolation | No garment. Grip and clear only, ten reps. Then grip, clear, rotate and join. Then all four. | Each step is correct every time at a slow pace |
| 2. Add the garment | Same four steps from under the shirt or jacket you actually wear. Slow. | The garment clears cleanly nine times out of ten |
| 3. Add a sight picture and trigger press | Extend to the sticky note, press once, hold, watch the sights. | Sights do not move when the trigger breaks |
| 4. Add a timer | Use a shot timer or a phone app with a random start beep. Draw to a sight picture and press on the beep. | Times are consistent, not just occasionally fast |
| 5. Add movement | Take one step off line as you draw. Then draw from seated, then from a car seat with a belt on (gun unloaded, in the driveway). | Form holds with the movement |
A reasonable schedule is ten to fifteen minutes, three or four days a week. Fifty slow correct reps per session is plenty. In class we can tell within a few draws who has been practicing at home: their hands go to the same place every time and the garment clears without a second grab. Our page on the gun belt matters here too, because a belt that lets the holster lift on the draw will undo your consistency no matter how much you practice.
Live fire: only where draw-from-holster is allowed
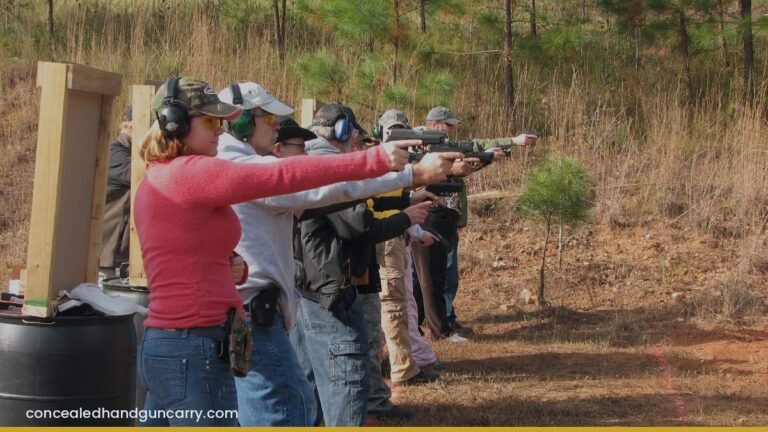
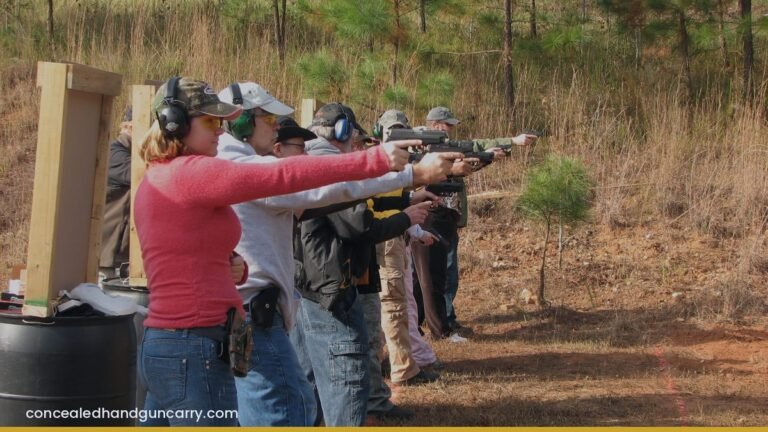
Many public ranges in North Carolina prohibit drawing from a holster on the firing line, and for good reason given what they see from untrained shooters. Ask before you go. If the range does not allow it, do all of your draw practice dry and shoot from a low-ready or compressed-ready position at the range; that still trains steps three and four with live recoil.
When you do go live, start at close range with a single shot per draw, and keep the re-holster as slow as it was at home. The first live rep is not the time to try to beat your dry-fire time. The jump from dry to live is where the trigger finger tends to creep onto the trigger early, so pay attention to it.
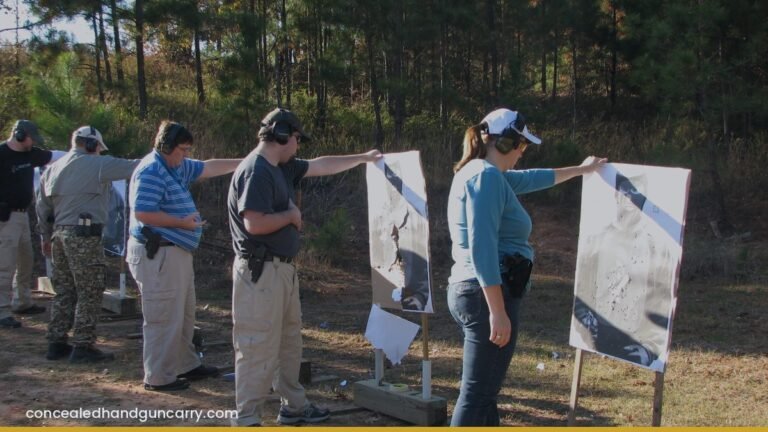
Our Defensive Shooting class is where we put students on the line drawing from concealment under instruction, and the Handgun Skills Clinic is a shorter format for working on the draw and other fundamentals with an instructor watching. Both are open to permit holders who want to go past the qualification course.
Bottom line
Set up a safe dry-fire space, learn the four steps slowly, add the garment, add the timer, and never rush the re-holster. A few hundred correct reps over a month will give you a draw you can trust, and live fire only on a range that allows it. If you want an instructor watching those reps, register for the Defensive Shooting class and bring the holster and belt you carry every day.
Frequently asked questions
How do I practice drawing from a holster safely at home?
Unload the gun, remove every round of ammunition from the room, confirm the chamber and magazine are empty twice, and point at a wall that would stop a bullet. Then practice slowly. Re-check the gun every time you pick it up.
What are the four steps of the draw?
Grip (full firing grip on the gun in the holster), clear (lift the gun straight up out of the holster), rotate and join (muzzle toward the threat, support hand meets the gun), extend (push the gun out to the sights). Re-holster is the slow reverse.
How many reps does it take to learn the draw?
Smooth, consistent draws usually appear after a few hundred correct slow reps spread over weeks, not one long session. Ten to fifteen minutes a few times a week beats an hour once a month.
Can I practice drawing from a holster at a public range?
Only if the range allows it, and many do not. Ask before you go. If your range does not permit holster work, do the draw dry at home and shoot from a ready position at the range.
Should I use a timer?
Not at first. Learn the steps slowly and correctly, then add a shot timer or a phone timer app to measure consistency. Speed comes from removing wasted motion, not from rushing.
Is drawing from an appendix holster different?
The steps are the same, but re-holstering requires extra care because the muzzle points at your pelvis and thigh. Look the gun into the holster, keep your finger off the trigger and lean back slightly to angle the muzzle forward.