Holster Retention Levels Explained: What Concealed Carriers Need
Holster retention is everything that keeps the gun in the holster until you decide to take it out: passive retention is friction and molding, active retention is a device you must defeat first. The Level I, II and III system people quote comes from police duty holsters, where the gun is in plain view and anyone can reach for it. A concealed carrier’s gun is covered, which changes the math: a well-fitted passive holster is enough for most people, and the time to think harder is when you open carry, work physically or spend your day in close contact with strangers.
This page supports our guide to how to choose a concealed carry holster. Every page in the series is listed in the concealed carry holster guide.
Passive vs active retention
Passive retention
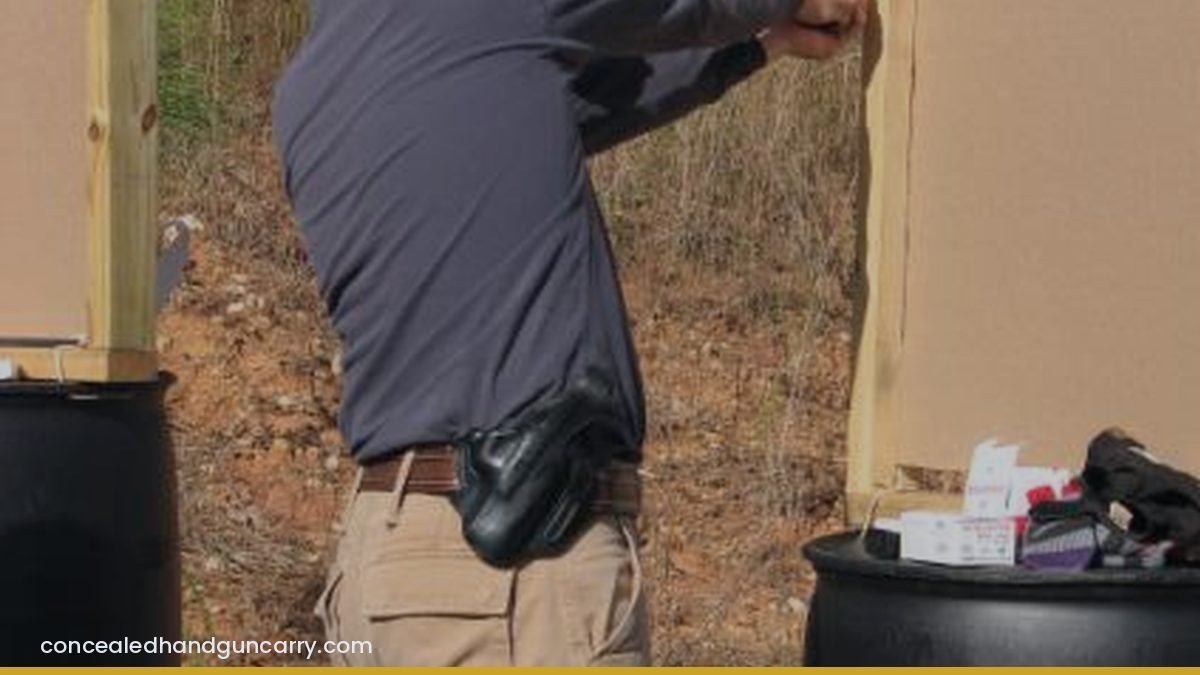
Passive retention holds the gun without any action on your part beyond a straight pull. It comes from three places:
- Molding. A Kydex shell or wet-molded leather holster is shaped to the gun. The trigger guard and ejection port in particular give the holster something to grip. A click when the gun seats is the molding engaging.
- Friction. The overall tightness of the holster against the gun. In leather this is all there is, and it relaxes with use.
- Adjustable tension. Most Kydex and hybrid holsters have a screw with a rubber spacer near the trigger guard. Tighten it and the two halves clamp harder; loosen it and the draw gets easier.
Passive retention is what almost every concealed carry holster uses. It is fast, it is simple, and when the holster fits the gun properly it holds through a fall, a sprint and a scuffle. When it does not, it is almost always because the holster is universal-fit, worn out or set too loose.
Active retention
Active retention adds a mechanical step. The common forms:
- Thumb break. A strap over the back of the slide, snapped shut, that your thumb pops open as you acquire the grip. The oldest and simplest active device, found on leather and some Kydex holsters.
- Hood or rotating guard. A hard cover over the rear of the slide that pivots forward with a thumb press before the gun can come up. Standard on duty holsters.
- Button or lever release. A lock that engages the trigger guard or ejection port and releases when you press a button or lever with the trigger finger or thumb during the draw.
- Combinations. Duty holsters stack two or three of these so that a gun grab from behind requires knowing the sequence, not just pulling hard.
Every active device adds one motion to the draw and one more thing that can be fumbled. Trained, the motion disappears into the grip. Untrained, it is where the draw stalls under stress. If you carry an active-retention holster, you have to dry-practice the release until it is automatic.
What Level I, II and III actually mean
The level system was developed for law enforcement duty gear, and the numbers roughly count the actions needed to remove the gun:
| Level | What it means | Typical use |
|---|---|---|
| Level I | Passive retention only: molding, friction or an adjustable screw. One straight pull removes the gun. | Almost all concealed carry holsters; some open-carry holsters |
| Level II | Passive retention plus one active device (thumb break, hood or lock). Two actions to remove. | Open carry, security work, some plainclothes duty |
| Level III | Passive retention plus two independent active devices. Three actions to remove. | Uniformed patrol duty holsters |
Two cautions. First, there is no single industry standard; one maker’s Level II is another maker’s Level III, and marketing has stretched the terms. Second, the levels were designed for a gun that is visible on a belt all shift long and that other people will try to take. That is a different problem from a gun under a shirt.
Where the levels came from
Police holsters grew retention features because officers lose guns in struggles, and a stolen duty gun gets used on the officer or the public. In 40-plus years of law enforcement, the weapon-retention block of training was always taken seriously, and the holster was treated as the first line of defense. Those holsters are built around a specific threat: an attacker who knows exactly where the gun is and has both hands free to go after it. That is the context for Level II and III. It is a real threat for anyone whose gun is visible.
What concealed carriers actually need
A concealed gun is hidden. The attacker does not know it exists until it is in your hand, so a gun-grab from the holster is much less likely than it is for a uniformed officer. What a concealed carrier needs from retention is:
- The gun stays in the holster through normal life: bending, sitting, running, a fall, a tussle.
- The gun does not fall out when the holster is removed with the gun in it, or when you take your pants off at the end of the day.
- The draw is the same every time and does not require fine motor skill under stress.
A properly fitted Level I holster meets all three. In our classes, retention failures almost never come from a lack of active retention; they come from universal-fit nylon, worn leather or a Kydex screw someone backed all the way out to make the draw “smoother.” Fix the fit before adding a strap. Our page on holster fit and sizing explains how.
Where active retention does make sense for a non-uniformed carrier:
- Open carry, in any form. If people can see the gun, assume someone may reach for it.
- Jobs with heavy physical movement: construction, farm work, anything involving ladders or crawling.
- Regular close contact with the public: bouncers, security staff, some healthcare settings where carry is lawful.
- Carry methods that put the gun in a position where passive retention is weak, such as some shoulder rigs and most pocket, ankle, shoulder and belly band holsters.
Thumb breaks and adjustable screws
A thumb break is the simplest way to add active retention to a concealed holster. It works, and it adds a step. The failure we see in class is a student who buys a thumb-break holster, never practices with it, and on the range either forgets to release it and yanks the holster up with the gun, or releases it with the trigger finger instead of the thumb, putting that finger near the trigger during the draw. Practice the thumb break dry, dozens of times, before carrying with it.
The adjustable screw on a Kydex holster is where most retention tuning happens, and where most retention problems are created. Set it so that the gun clicks firmly into place, passes the shake test described below, and comes out with a deliberate pull. Then put a drop of removable thread locker on it. A screw that walks out over a few weeks turns a Level I holster into a Level zero.
Testing retention safely
Test every holster when new, after any adjustment and every few months after that. The procedure:
- Unload the gun. Remove the magazine, lock the slide back, look and feel the chamber. Take all ammunition out of the room.
- Holster the gun. Confirm it clicked or seated fully.
- Hold the holster by its body, turn it upside down and shake it firmly, several times. The gun should not move.
- Put the holster on with the gun in it. Bend over, squat, sit, stand, jog in place, twist. The gun should not shift in the holster.
- Draw the gun. The holster should stay on the belt and the gun should come out with one clean pull. If the holster lifts with the gun, the belt or clips are the problem.
- Re-holster and repeat the shake test.
If the gun moves at any point, tighten the retention screw a quarter turn and repeat. If there is no screw and the gun moves, the holster is done. This test takes two minutes and it is the single most useful thing you can do with a new holster before trusting it, which is why it is also in our holster safety rules.
Retention and open carry in North Carolina
North Carolina generally allows open carry of a handgun, subject to local restrictions. If you choose to carry openly, or if your OWB rig is likely to show, treat the holster as a duty holster: Level II at minimum, with a release you have practiced until it is automatic. A visible gun with a friction-only holster is an invitation. The legal side of the two carry modes is covered in open carry vs concealed carry in North Carolina; the equipment side is simply more retention and more practice.
Bottom line
Passive retention from a holster that fits your exact gun is enough for almost every concealed carrier. Add active retention when the gun is visible, your work is physical or your carry method is weak on retention — and then practice the release until it is part of the draw. Test with the shake test, unloaded, every few months. If you would like us to check your rig and watch your draw, our defensive shooting class starts every holster block exactly that way.
Frequently asked questions
What do holster retention levels mean?
The levels describe how many separate actions it takes to remove the gun. Level I is passive friction or molding only; Level II adds one active device such as a thumb break or hood; Level III adds a second active device. The system comes from police duty holsters.
What is the difference between passive and active retention?
Passive retention holds the gun by friction, molding or adjustable tension and releases with a straight pull. Active retention requires you to defeat a device — a strap, hood, button or lever — before the gun will move.
What retention level do I need for concealed carry?
A well-fitted passive-retention holster is enough for most concealed carriers, because the gun is covered and nobody knows where it is. Active retention makes more sense for open carry, physically demanding work or regular close contact with others.
How do I test my holster's retention?
With the gun verified unloaded and no ammunition in the room, holster it, turn the holster upside down and shake it firmly. Then wear it and bend, squat and jog in place. The gun should not move. Adjust the retention screw if it does.
Does a thumb break slow down the draw?
Slightly, until it is trained. A thumb break adds one motion to the draw, and with regular dry practice that motion becomes part of the grip rather than a separate step.